How to Use Wire Shelves for Garage Storage
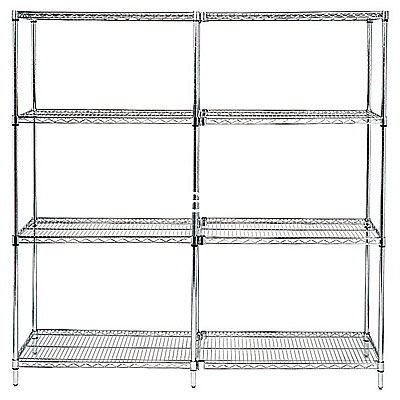
Wire shelves are a strong and durable storage option which is commonly used both in businesses, medical facilities and homes as an affordable solution. One of the places around the home where wire shelves & shelving racks can be used to help organize the area is the garage. As we all know, the garage can often be a catch all for other things which you do not know what to do with. If you want to prevent this, keep your garage neat and clean by using shelving racks. Wire shelving units are available in various sizes and styles depending on what you need to use them for.
Wire shelving units can be mounted up against the walls in the garage quickly and easily. Setting these shelves up will not take you as long as you may think. What’s even better is that you can arrange your shelving units in whatever configuration that works best for you. There are storage racks which are designed to hang from the ceiling to store large items such as bicycles. This helps get them up and off of the floor, allowing you to make the most of your garage space. After you have determined the placement of your new shelving racks, the installation is quick and easy. Let’s take a look at how these affordable wire shelving units are installed.
If you are going to be using wire shelves on the ceiling or the walls of your garage, you will want to make sure that you have all of the materials that you will need on hand to complete the task. There is nothing worse than having to stop in the middle of what you are doing to get the supplies you need. For the installation of shelving racks for the garage, you will need nothing other than the shelving units themselves. All you have to do is select the desired sizes for your garage.
The first thing that you will need to do to prepare for the installation of your wire shelving is to make small horizontal lines on the wall where you plan to install your wire shelves. Carefully measure the height that you would like your shelves to be with a tape measure and then use a level to ensure that the lines places are straight. Once you have placed the marks for your shelving rack, it is a good idea to double check each one before you begin the installation to ensure accuracy.
The next step to installing wire shelving units in your area is to mount wall clips on the wall where the shelves are going to be positioned. These small clips are used to help hold the wire shelves against the area wall. The type of screw that you should use for this step is going to vary according to the material which your garage walls are made of. If you have wooden garage walls then you will need to use wood screws to secure these mounts. However, if you have drywall in your area then you should use toggle bolts. Position the clips approximately 12” from one another across the area where the shelving units will be placed.
Once the wall mounts have been carefully secured, you then need to snap each of the wire shelving racks in place on these clips, allowing them to rest on the wall. Now you will need to assemble the support posts for the wire shelves and mount a clip onto each one at the height which the wire shelves are to be positioned. The posts have numbers going up them which allow you to easily find the height which you require.
Now it is time to secure the chrome shelving in place. Simply lift the shelving up away from the wall and lock it into place by clipping it into the vertical support structure. Do this at both ends of the shelves to ensure that they are securely attached and ready to bear weight. For larger shelving units and storage racks, you may also need to install intermediate posts. This also applies if you plan to store a lot of weight on your wire shelving units. That’s it, that’s all there is to it! So, what are you waiting for put this easy project on your next “to do” list and you will have the most organized garage in town.


